
Ubuntu系统下的docker安装HomeAssistant 并配置和安装HACS详细过程-
Ubuntu系统下的docker安装HomeAssistant 并配置和安装HACS详细过程-
前言:
我这里使用的是香橙派3B的Ubuntu22.04系统,官方系统手册并没有相关的docker教程:同时安装docker 然后拉取HomeAssistant
安装MQTT和HACS
安装docker:
我再前面有讲过arm64架构如何去安装Docker的方法,
这里仅放上连接:香橙派 arm64 ubuntu安装docker
安装HomeAssistant:
拉取镜像:
1 | docker pull homeassistant/home-assistant |
创建容器: 此容器将会在/root/home目录创建 不喜欢可以自己选择路径
1 | docker run -d --name="home-assistants" -v /root/home:/config -p 8123:8123 homeassistant/home-assistant:latest |
查看容器的ID:
1 | docker ps -a |
开机自启动:
1 | docker container update --restart=always 容器ID |
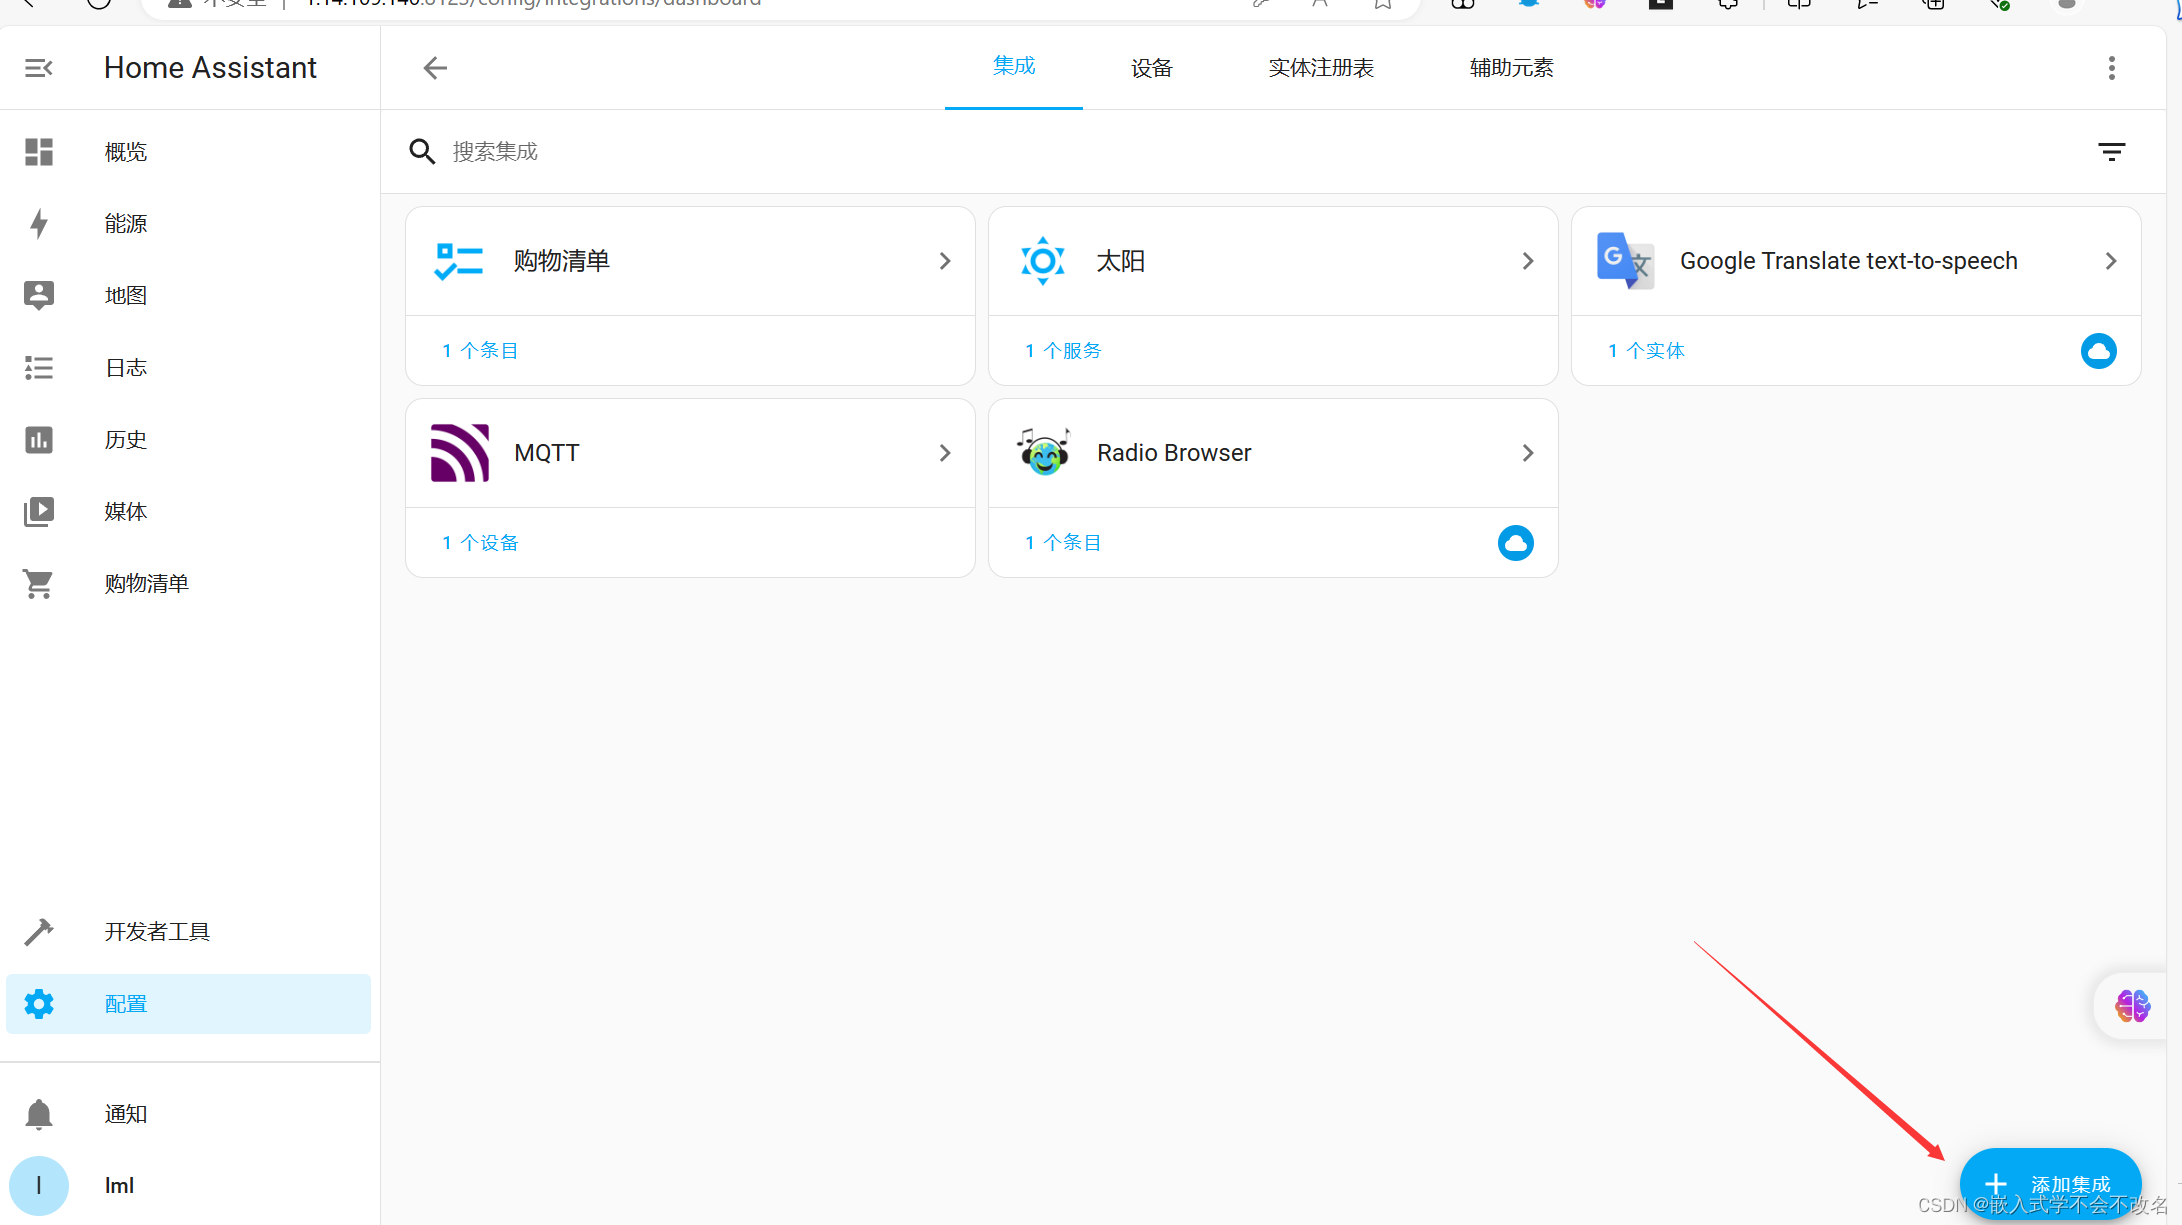
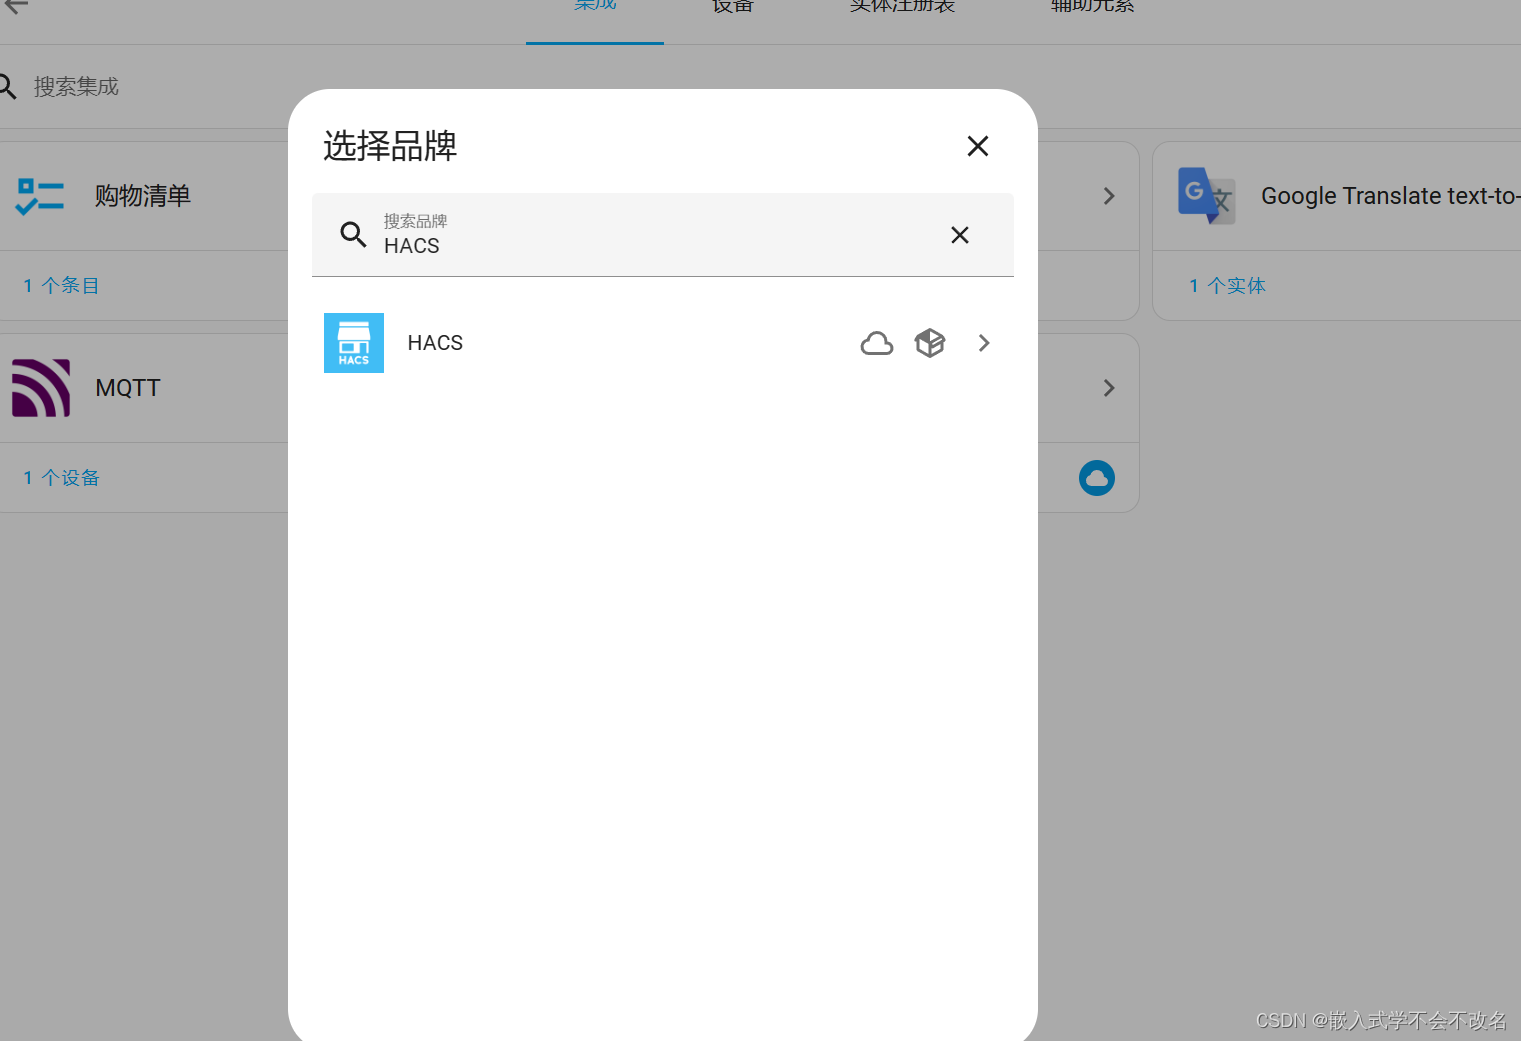
安装配置HACS:
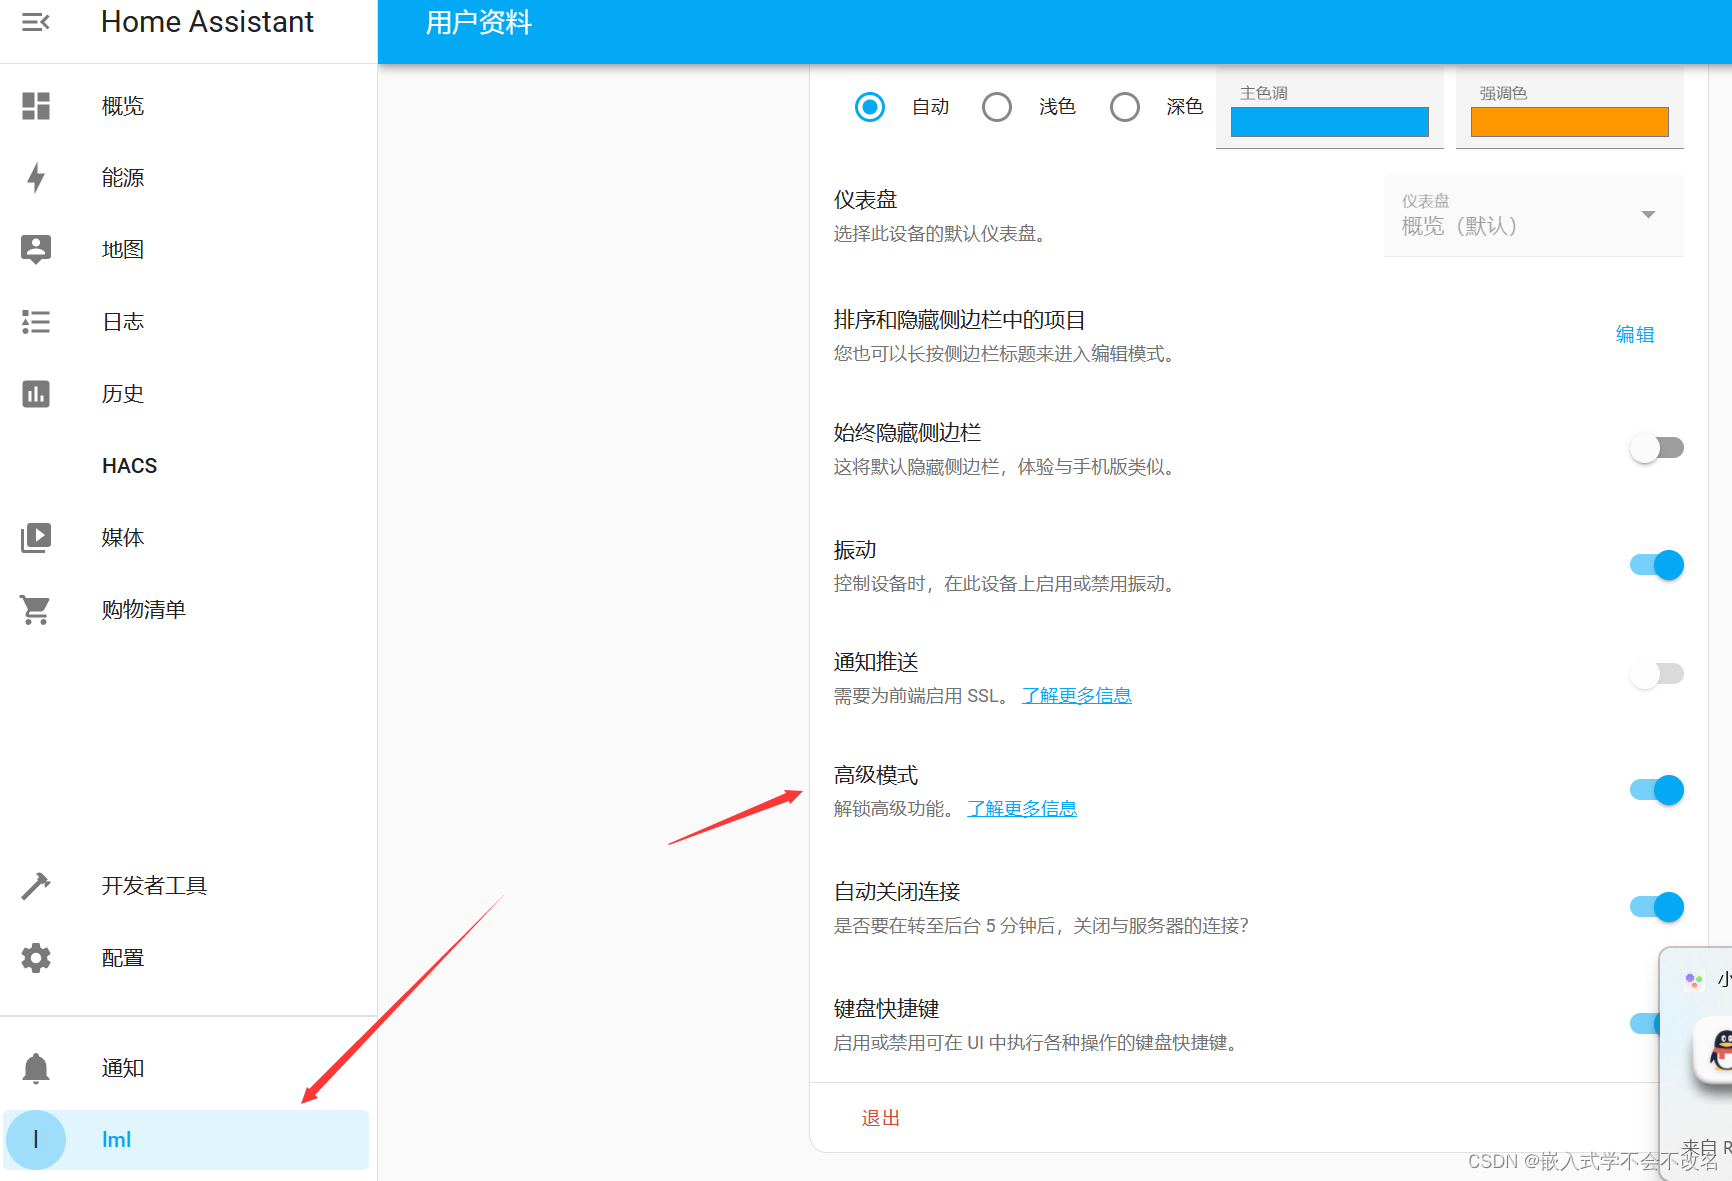
开启高级模式:
利用xftp工具,其他也可以,进入到/root/home/目录:
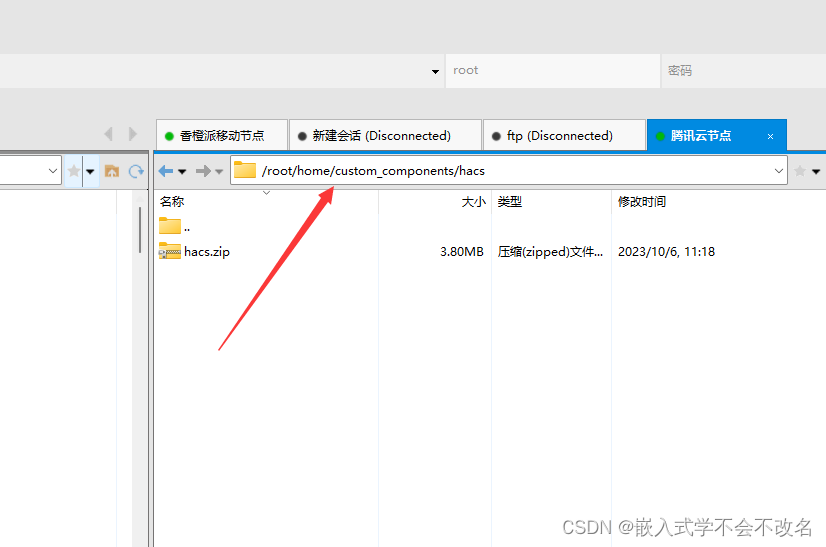
上传文件到:/root/home/custom_components/hacs:
一开始没有这个文件夹,可以自己在xftp新建或者命令新建
下载连接:
下载HACS
解压:
1 | cd /root/home/custom_components/hacs |
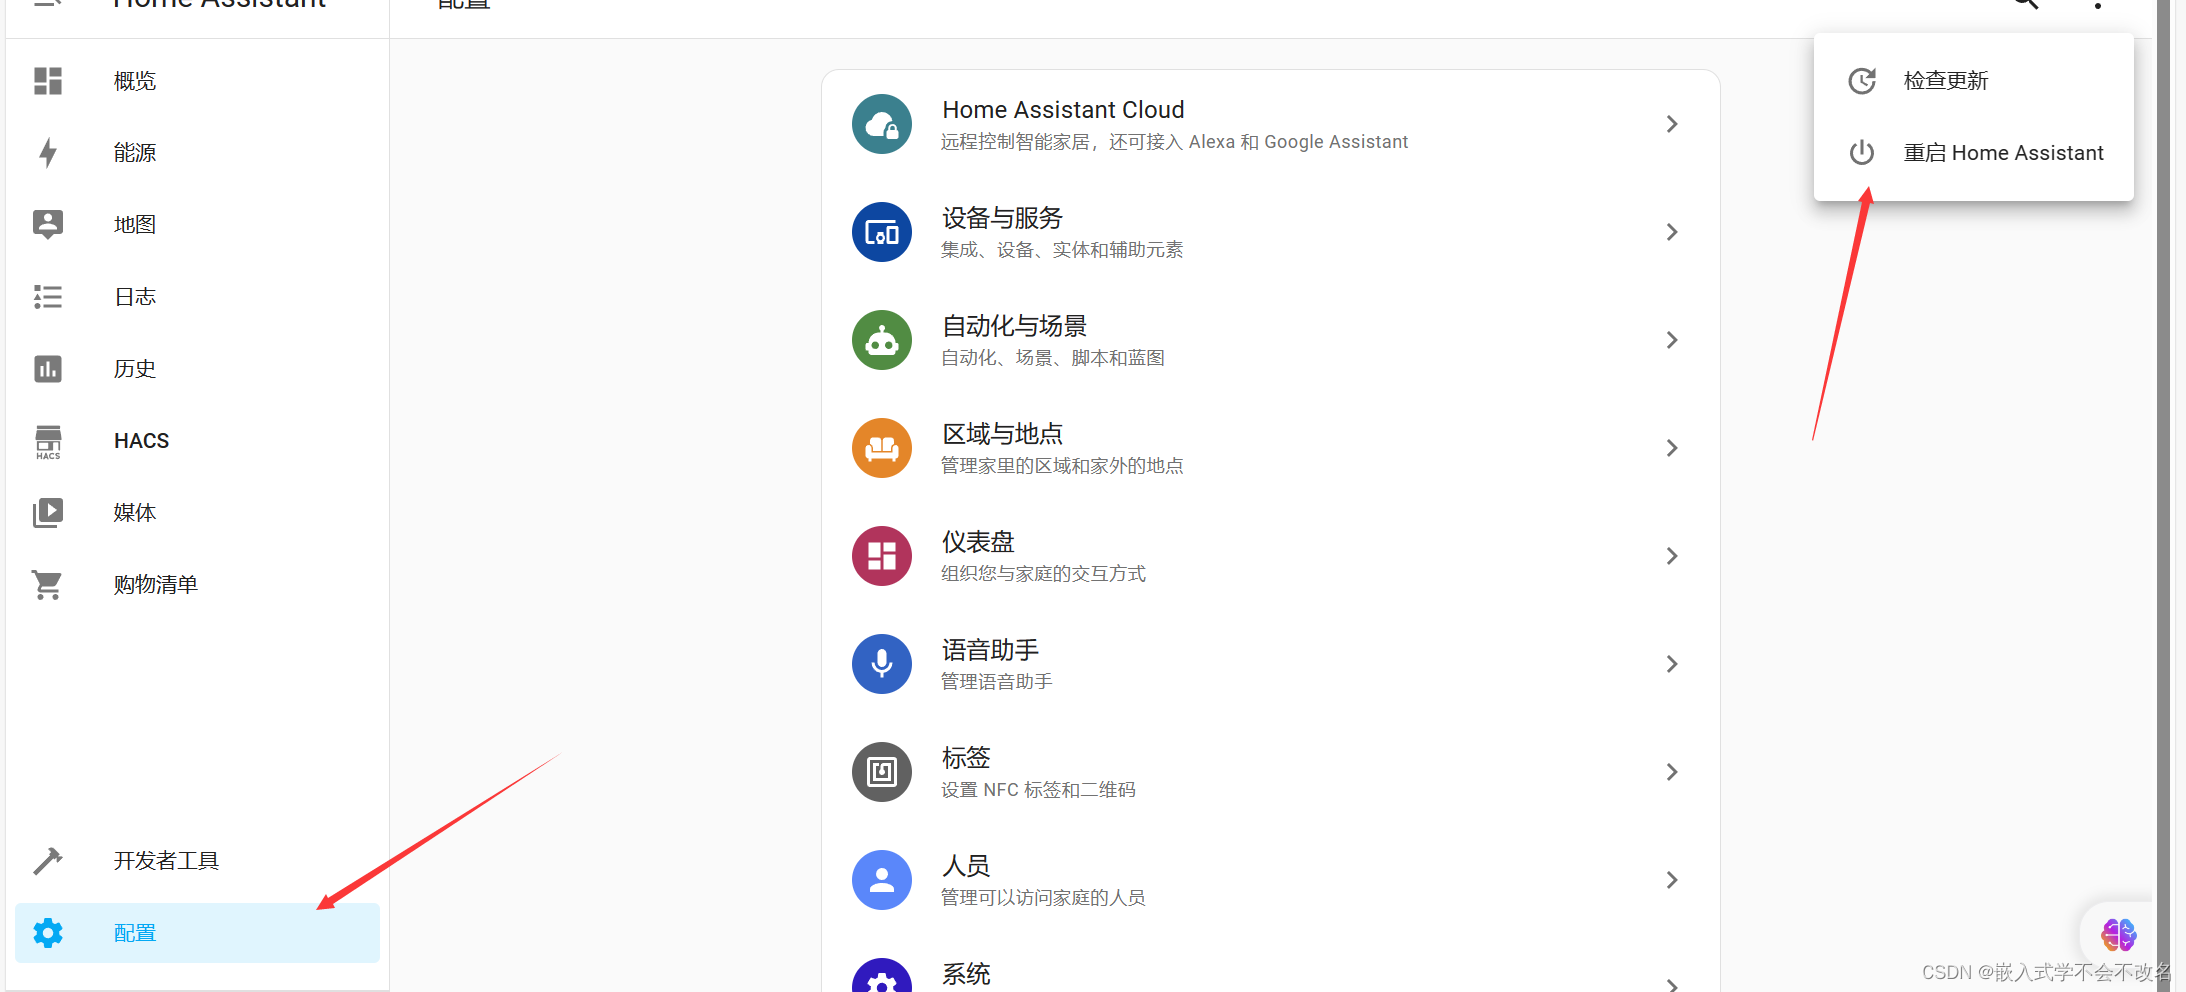
重启HomeAssistant:
配置GitHub:
不配置可以打不开HACS的加载选项,会卡在无法访问Github
下载fastgithub:下载fastgithub
XFTP上传到root目录
解压fastgithub并运行:
1 | unzip fastgithub_linux-arm64.zip |
配置代理 添加内容:
1 | nano /etc/profile |
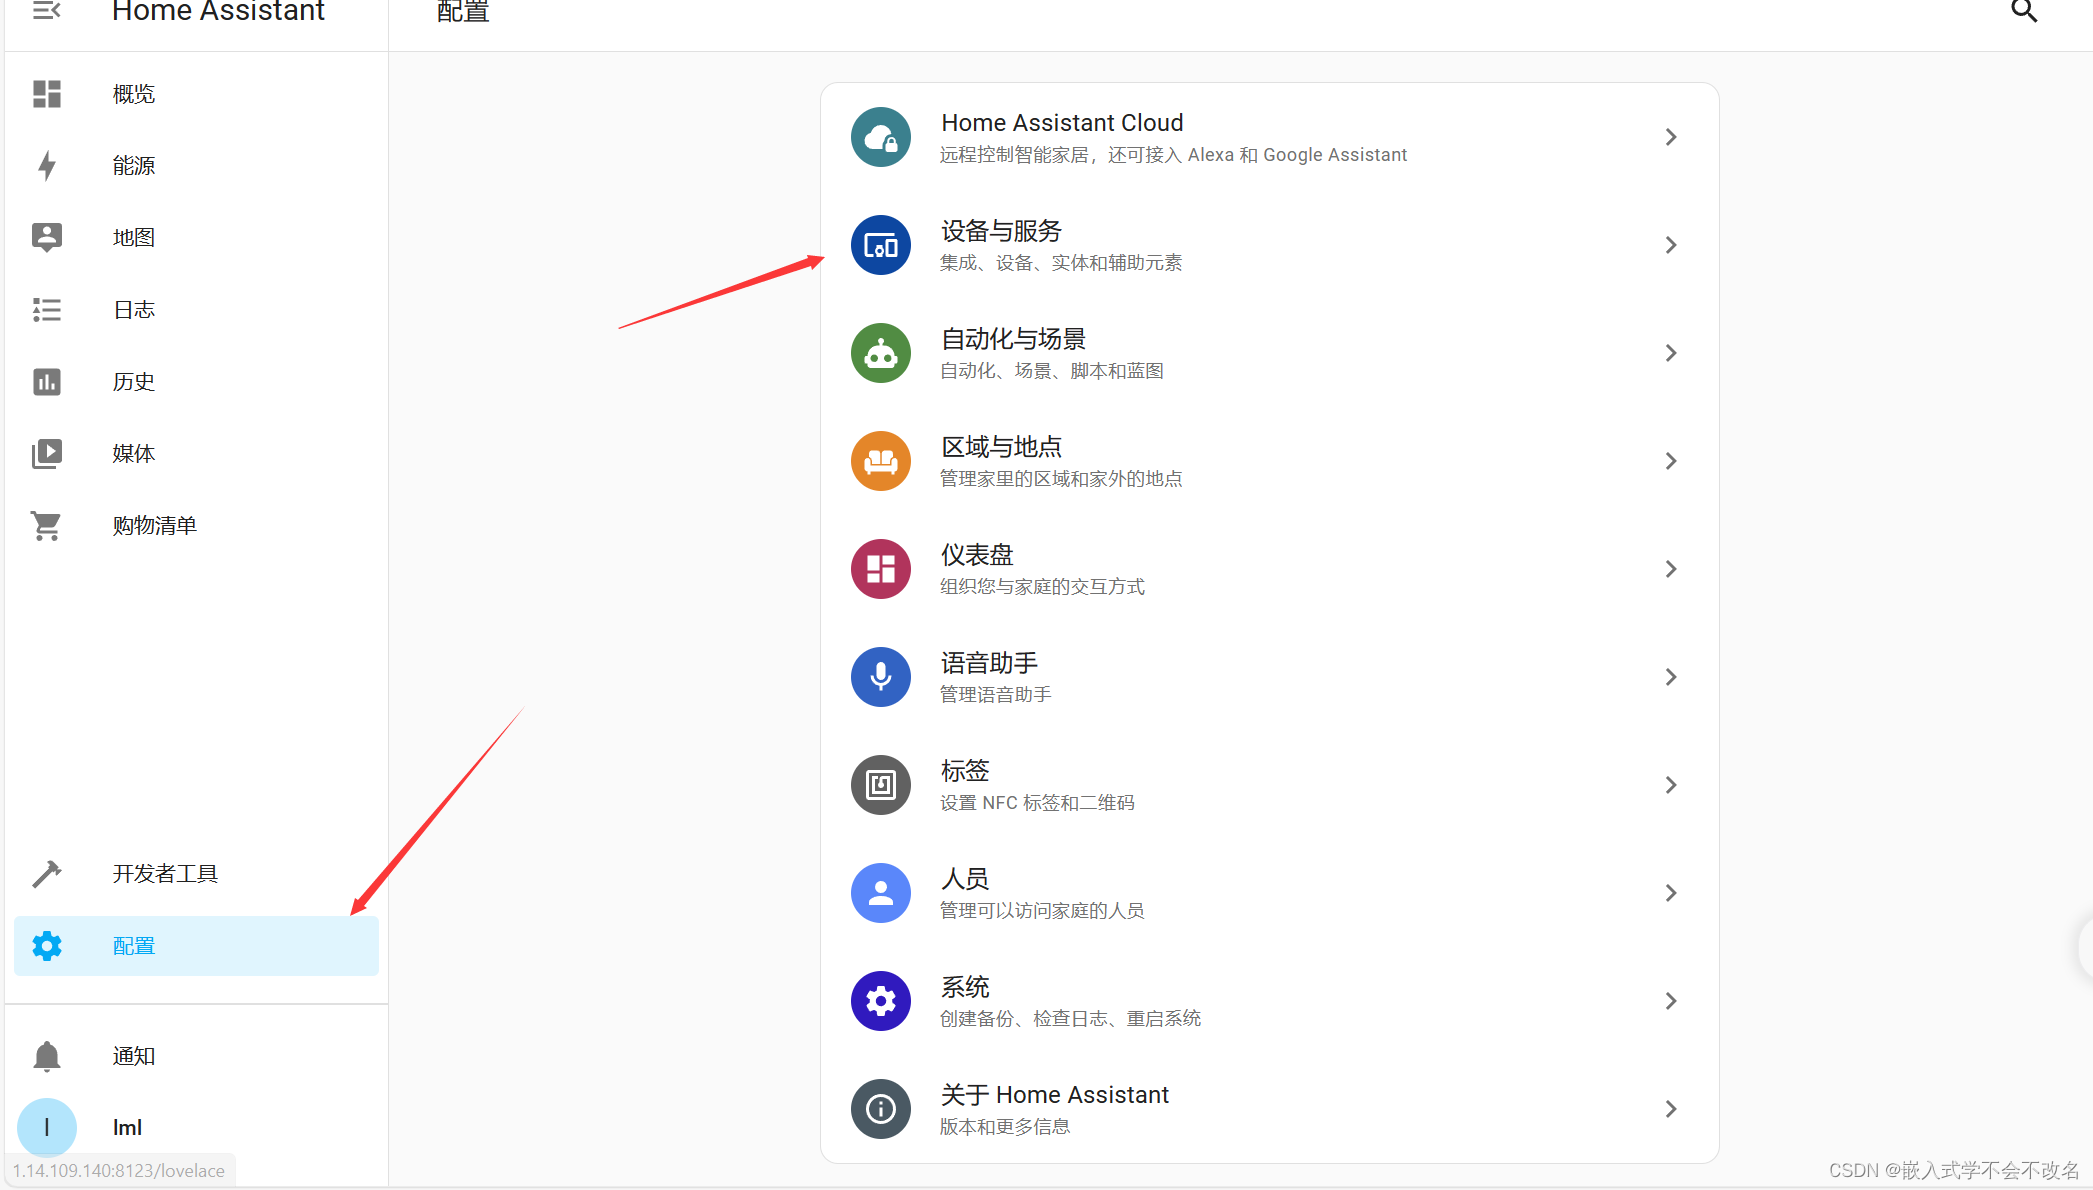
配置HACS
本博客所有文章除特别声明外,均采用 CC BY-NC-SA 4.0 许可协议。转载请注明来自 ahoilc明的学习社区!
相关推荐

评论